

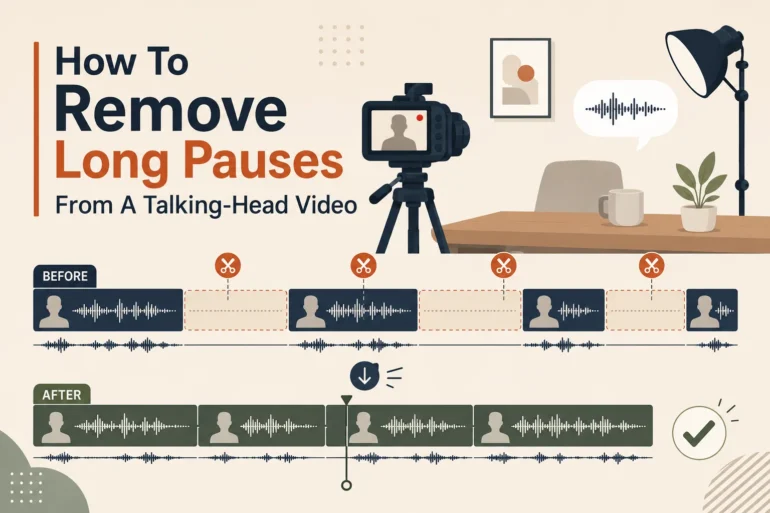
Record yourself for 10 minutes, and much of that footage stays unused. Natural pauses happen when thinking, forgetting words, or waiting for outside noise. Every gap remains in the recording until you decide to remove it. Removing long pauses tightens videos, but cutting everything makes speech sound robotic.
Breathing and sentence spacing matter because they keep normal conversations sounding natural. This guide uses Wondershare Filmora Silence Detection to remove pauses properly.
Part 1. Decide Which Pauses Should Be Removed
Audio silence detection finds quiet sections by checking volume levels throughout your recorded footage. However, each quiet moment serves differently, so editors must decide what actually matters. The table below shows which pauses you should remove or preserve during editing:
Worth Cutting | Worth Keeping |
Dead air at the start and end of the recording | The breath a speaker takes between sentences |
Long gaps where you forgot the next line | A deliberate pause placed before an important point |
Waiting for a phone or a passing car to stop | The beat that lets a viewer absorb what was said |
Setup time before you begin speaking | Short natural spacing that makes speech sound human |
Review each quiet section because some pauses improve natural speaking rhythm. Removing only unnecessary gaps keeps the final video smooth and comfortable.
Part 2. Prepare a Clean, Representative Voice Clip
Work from the original recording instead of using an already processed version. Noise reduction and heavy compression can change volume levels used during analysis. These changes can make silence detection results less accurate and predictable. Keep a safe copy of the original recording before making any changes.
Next, choose a short test section lasting around 1 or 2 minutes. Include normal speech, short natural pauses, and one clearly noticeable long silence. Testing this sample first is faster than processing your complete video again. It also helps you understand your waveform before adjusting the next settings.
Part 3. Open Silence Detection in Filmora
With your clip ready, Filmora Silence Detection is easily accessible from the timeline. The steps below show how to open the tool and begin editing:
Step 1. Import the Clip and Open the Tool
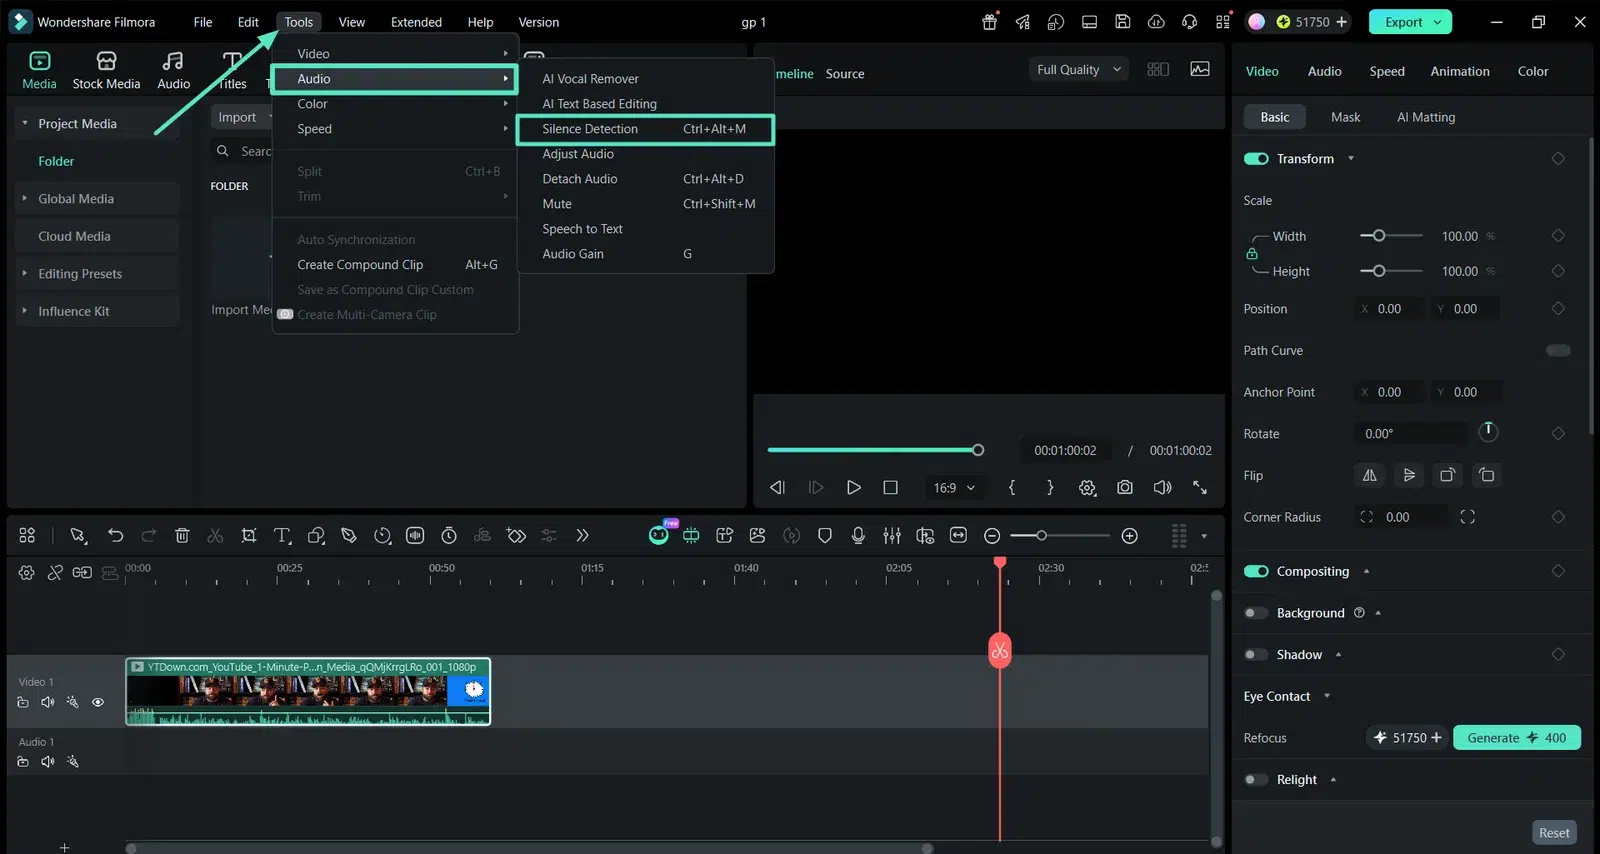
Once you start a new project, press the “Import” button and choose your talking head clip. After that, drag that clip to the timeline. Next, select the video from the timeline and press “Tools.” Choose the “Audio” option and select “Silence Detection.”
Step 2. Look at the Three Controls Before Changing Anything
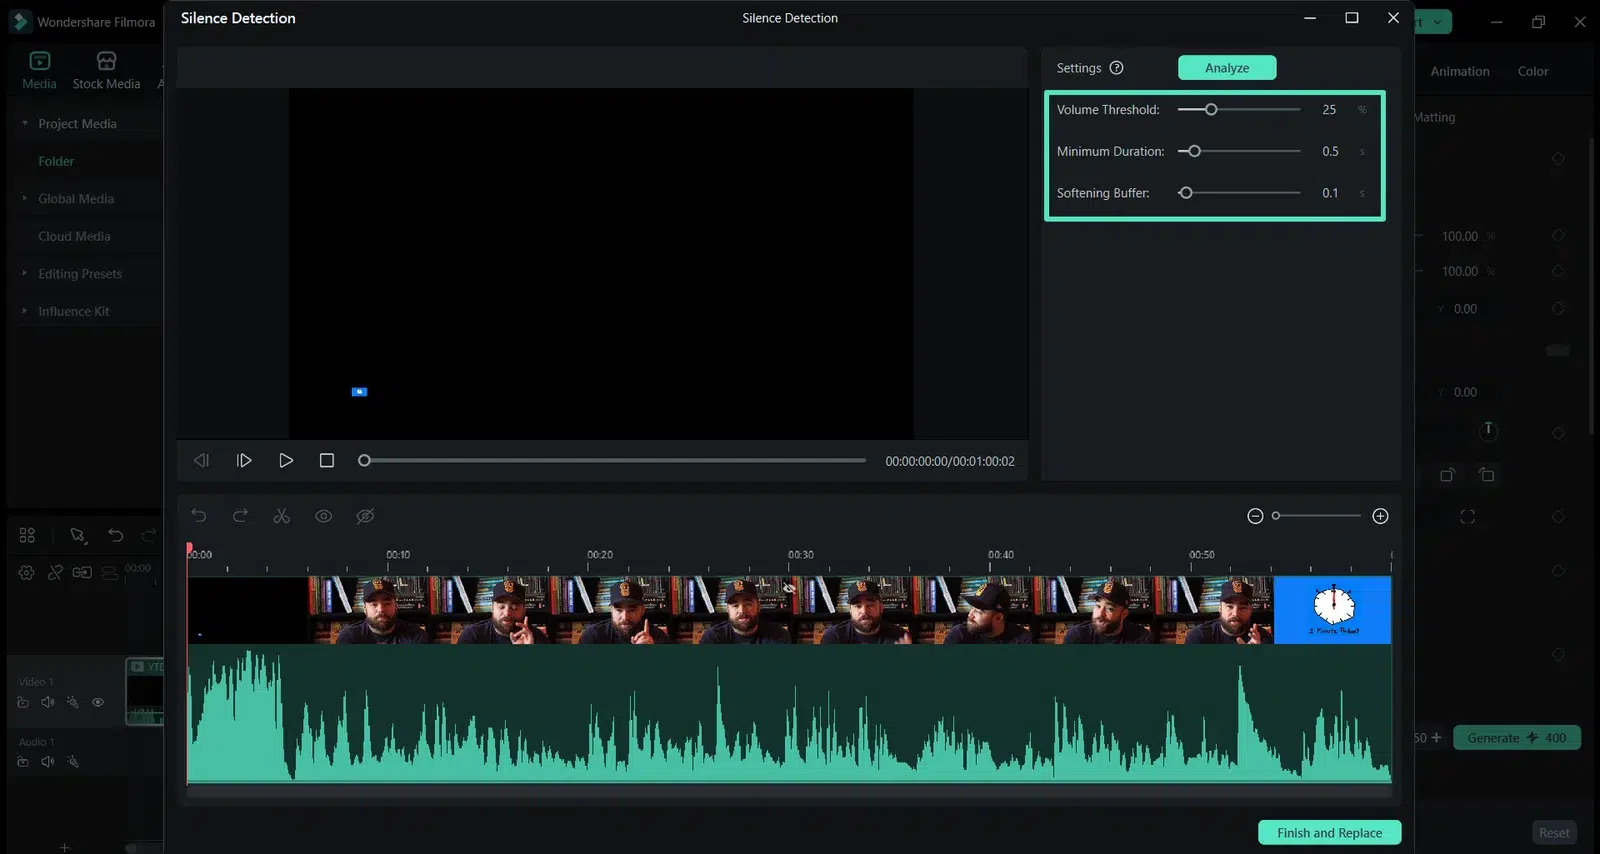
The Silence Detection panel offers 3 sliders, and they do different jobs. Their defaults are a sensible starting point for ordinary speech:
Control | What It Decides | Default |
Volume Threshold | How quiet a passage has to be before it counts as silence | 25% |
Minimum Duration | How long that quiet must last before it is flagged | 0.5 seconds |
Softening Buffer | How much breathing room is left at each end of a kept section | 0.1 seconds |
Note: Silence Detection can process up to 10 clips at once, which helps when a session produced several takes. Settle the settings on one clip before running the rest.
Part 4. Analyze and Review the Detected Pauses
Default Silence Detection settings may remove natural pauses from your talking-head video. Continue with looser settings first, then adjust them carefully after reviewing results:
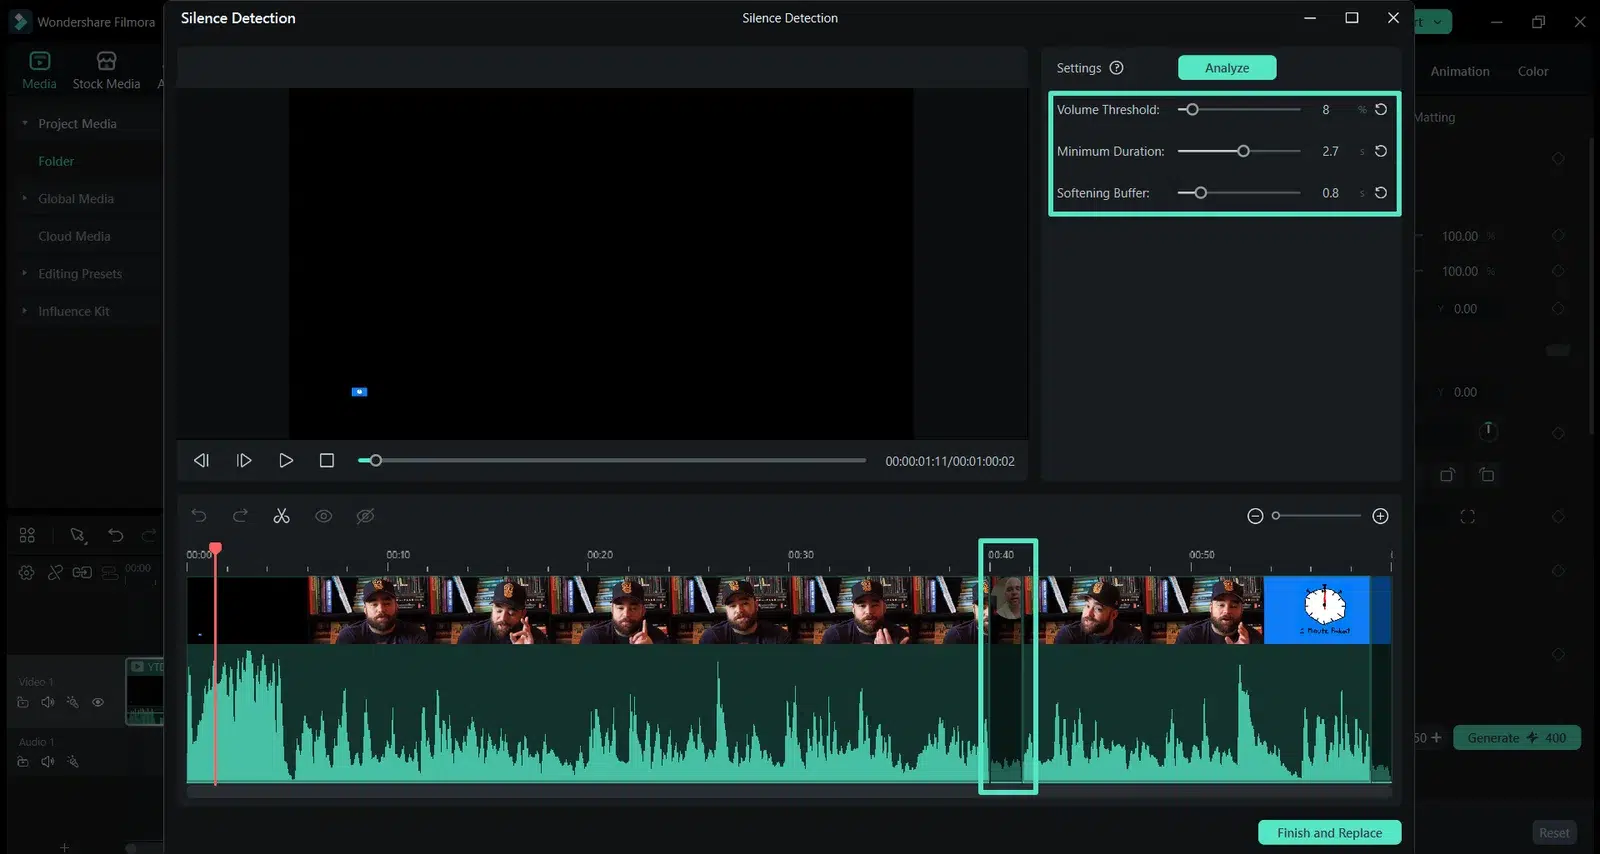
Step 3. Raise the Minimum Duration, Then Analyze
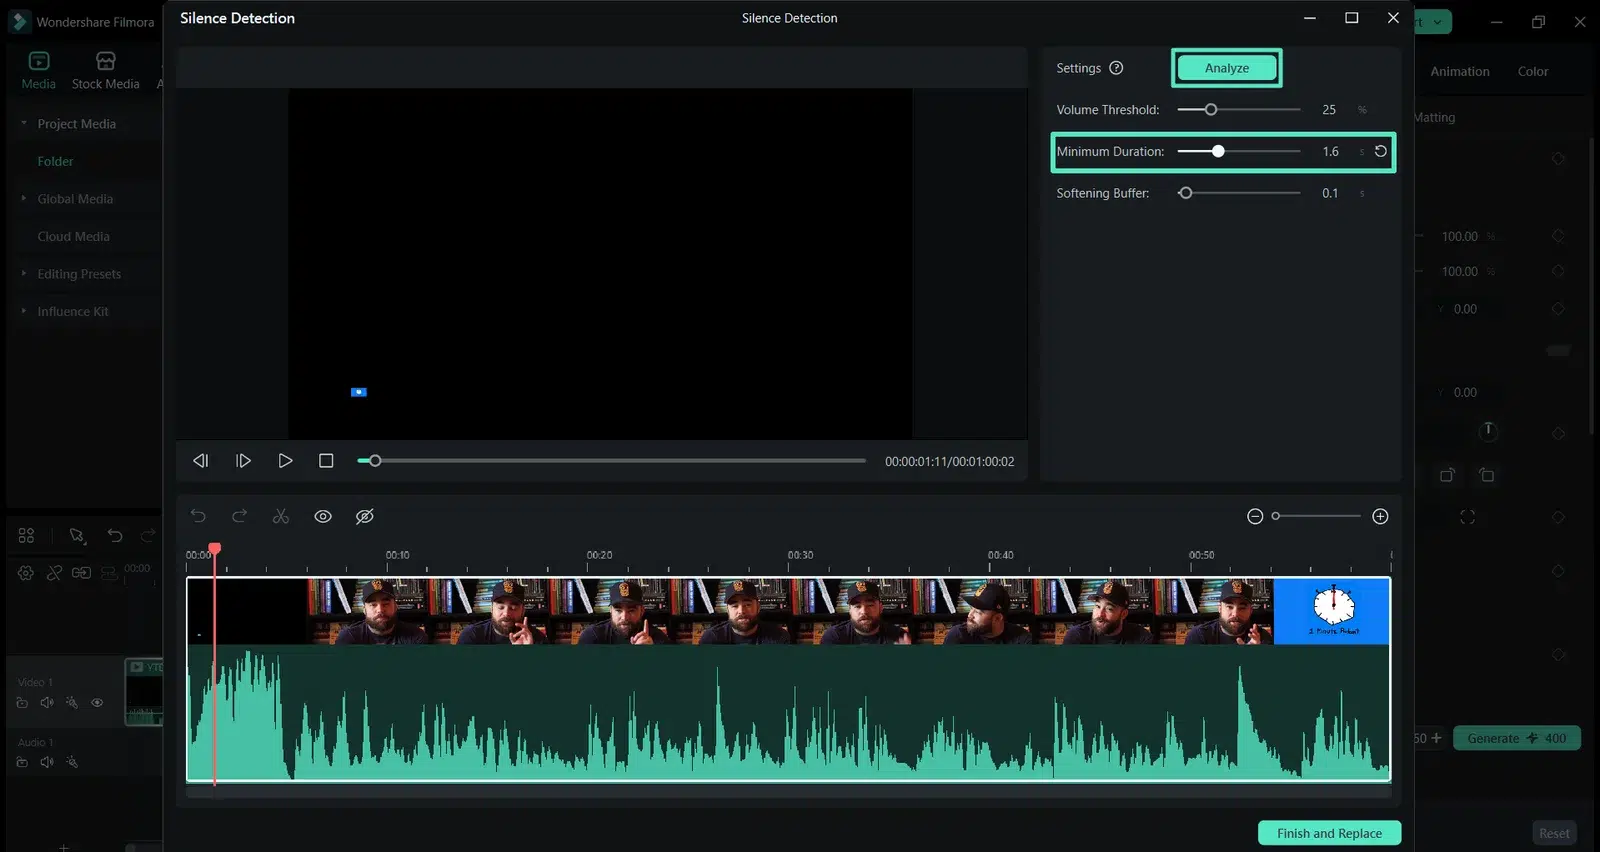
Set “Minimum Duration” to 2 or 3 seconds so that ordinary sentence spacing survives. Leave the threshold at its default for a first pass, then click “Analyze.”
Step 4. Review What It Proposes to Cut
Black timeline sections show removed pauses, while highlighted sections show retained audio. Play the results carefully and check whether any spoken words sound clipped. Raise “Minimum Duration” when too many short natural pauses are being removed.
Lower “Volume Threshold” when background noise causes incorrect silence detection during analysis. Next, increase “Softening Buffer” when words lose sounds near their beginning or ending.
Part 5. Return the Result to the Timeline
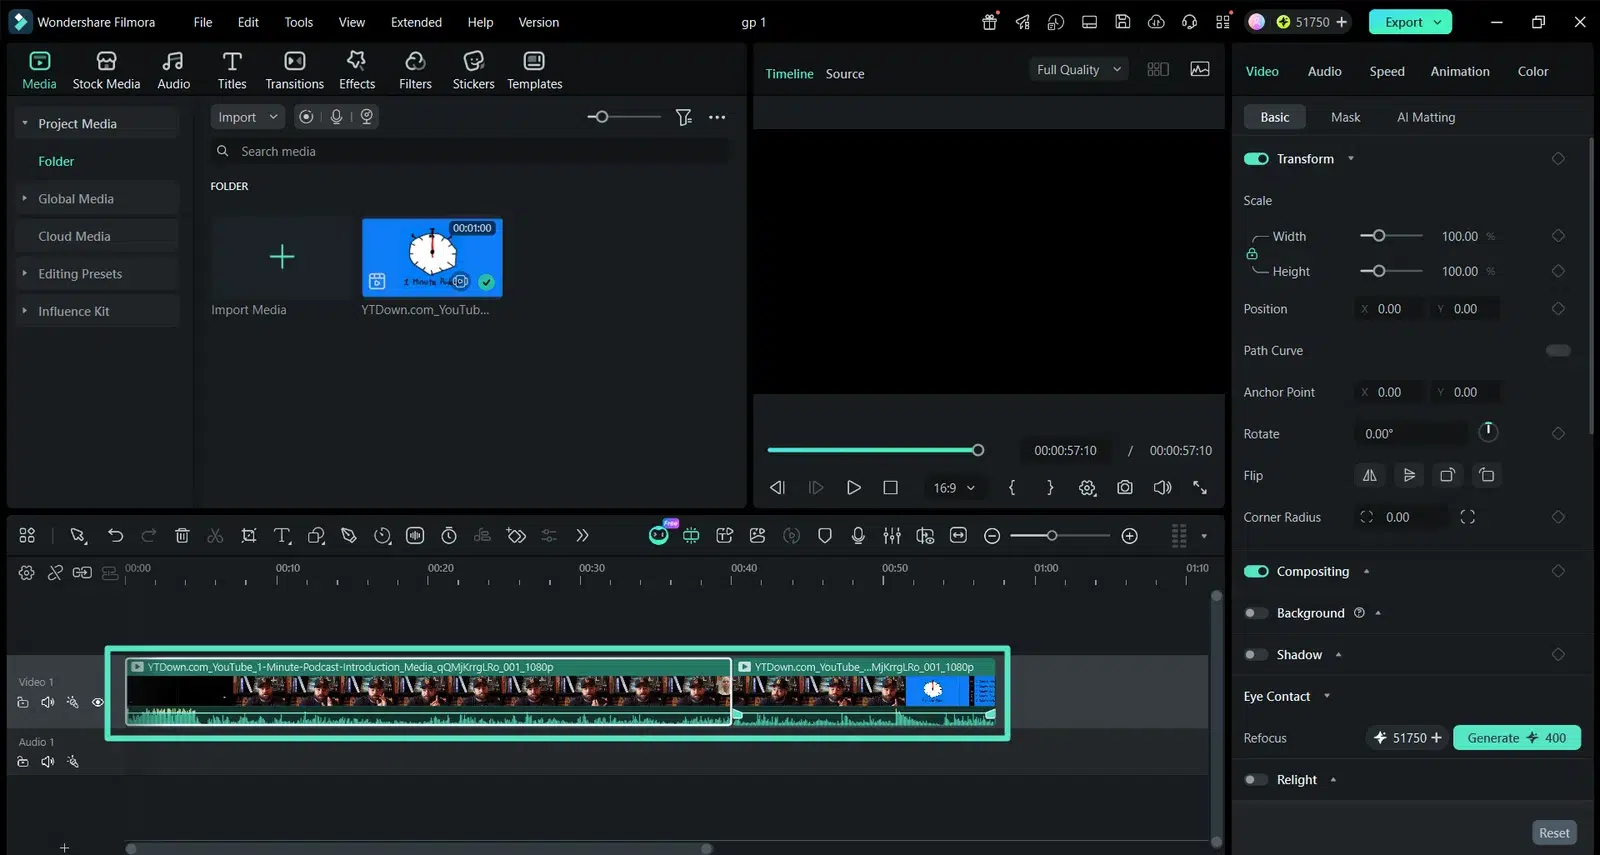
Once the proposed cuts look right, the clip goes back into the project you started in. Next, let’s finalize the changes and return the edited clip to the timeline.
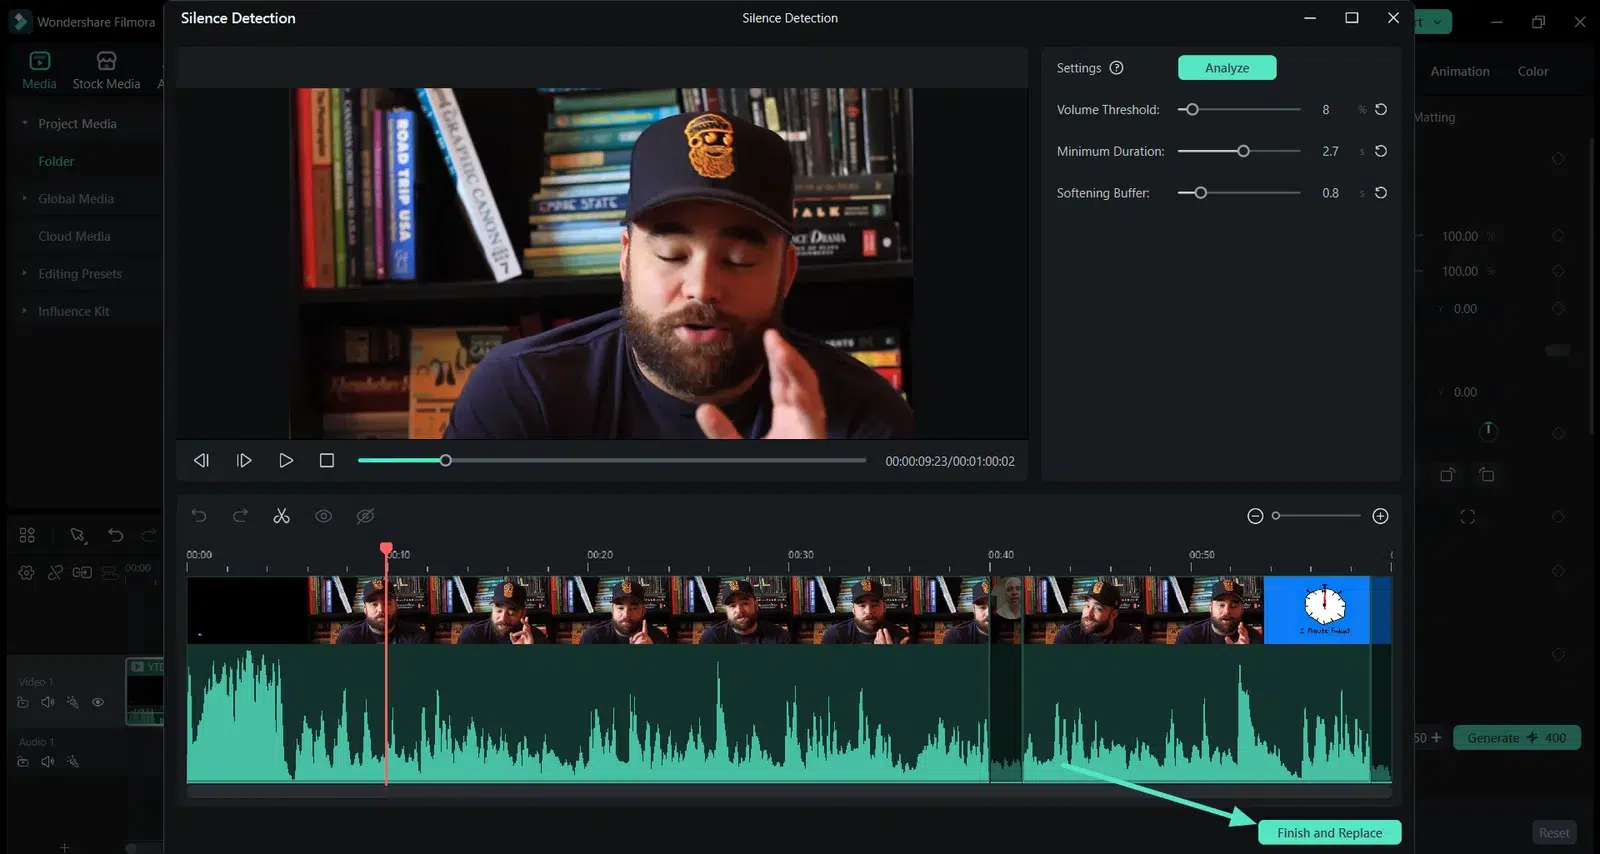
Step 5. Apply the Changes
Click “Finish and Replace,” which sends the trimmed version back to your timeline. The work is non-destructive, so your original file on disk is untouched, and the change can be undone.
Step 6. Check It Against Everything Else in the Project
Review your B-roll, titles, and music because shorter clips can change timing. For projects with background music, Filmora Audio Ducking can help lower music around dialogue and keep speech clearer. Play the complete video once to confirm these project elements remain properly aligned.
Part 6. Check the Full Video at Normal Speed
After audio silence detection, play your complete video normally from beginning to end. Listen carefully for these 5 issues before considering your final edit complete.
- Clipped Consonants: Words losing their first or last sound usually mean the softening buffer is too short.
- Rushed Delivery: Sentences running into each other with no space suggests too many pauses were taken out.
- Missing Breaths: Speech with no audible breathing sounds synthetic, however clean the audio is.
- Visual Jumps: Each cut shifts your head position slightly, which is more obvious on camera than in the audio.
- Pauses Worth Restoring: Undo individual cuts where the silence was doing something useful for the delivery.
If music still competes with speech during playback, follow the Filmora Audio Ducking guide to adjust background audio around dialogue.
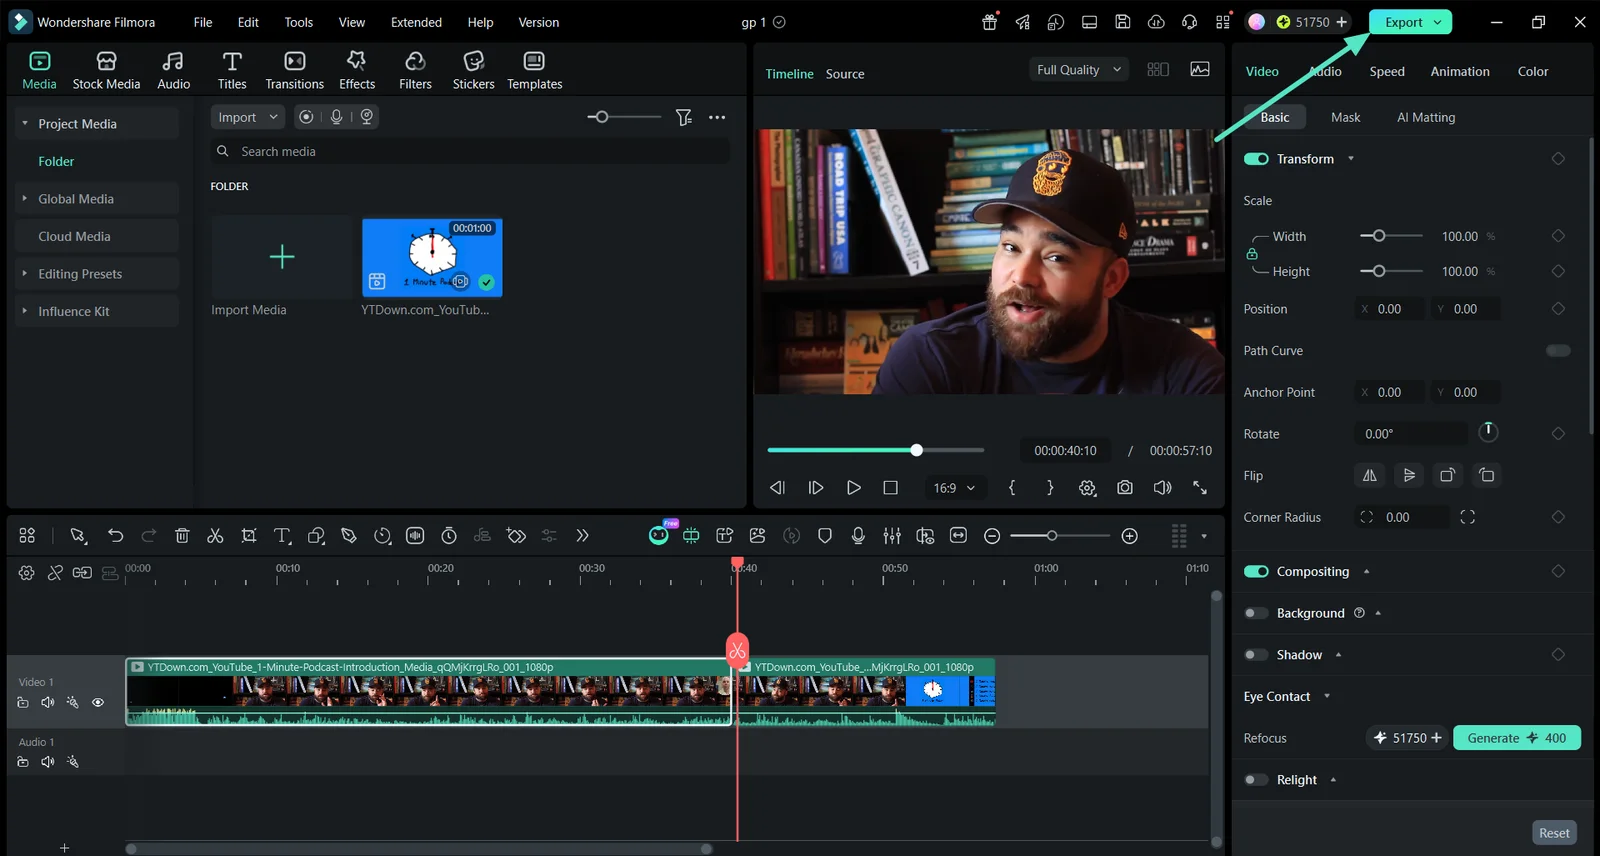
Any of these can be fixed by returning to the tool with different settings, or by undoing single cuts on the timeline. It is normal to run the analysis two or three times before the result sounds right. Once every issue is fixed, and the video sounds natural, click “Export” to save your finished video.
Conclusion
To summarize, removing unnecessary pauses can make talking-head videos smoother and tighter. Silence detection identifies possible gaps, but you decide which pauses need removing. Careful choices preserve natural breathing, sentence spacing, and a comfortable speaking rhythm. Filmora provides the tools needed to detect, review, and remove unwanted pauses.