
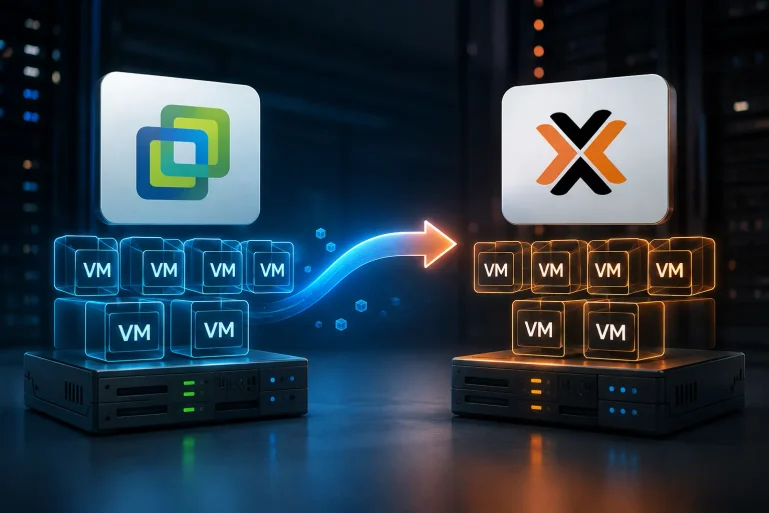
Thinking about leaving VMware after the Broadcom pricing changes? Proxmox VE is the alternative most admins land on — it’s open source, built on KVM, and runs your existing Windows and Linux VMs without drama. This guide walks through the process end to end, enough to move your first virtual machine with confidence and understand how to scale the approach to the rest.
Before you start: what you’ll need
- A running Proxmox VE host (or cluster) with enough storage for your VMs.
- Network access to your VMware environment.
- The VirtIO driver ISO (essential for Windows guests).
- A verified backup of every VM you plan to move.
That last point matters. Never begin a migration without a known-good backup — it’s your safety net if anything goes sideways.
Step 1 — Get your VM ready on the VMware side
Before anything, take a backup. Then, inside the guest, uninstall VMware Tools and shut the VM down cleanly. A clean shutdown avoids filesystem checks and boot surprises later. Note down the VM’s IP address, VLAN, and disk layout — you’ll want to reproduce these on Proxmox.
Step 2 — Move and convert the disk
Copy the .vmdk file to your Proxmox host, then convert and attach it to a new VM:
qm importdisk 100 vm-disk.vmdk local-lvm
Here 100 is the ID of a new empty VM you created in the Proxmox GUI, and local-lvm is your target storage. The disk shows up as “unused” — attach it to the VM as a SCSI disk (using the VirtIO SCSI controller) and set it as the boot device in the VM’s Options.Tip:
prefer the virtio-scsi controller for the best performance. If the guest won’t boot with it at first, use SATA temporarily, install the VirtIO drivers inside the guest, then switch back to VirtIO SCSI.
Prefer the wizard? Use it.
Newer Proxmox versions include an ESXi import wizard in the web interface. If you’d rather not touch the command line, add your ESXi host as a storage source and import VMs with a few clicks — the disk conversion happens automatically.
Step 3 — Sort out drivers
Windows guests need the VirtIO drivers or they’ll boot to a black screen. Mount the VirtIO ISO before first boot and install the storage and network drivers. The cleanest approach is to install the drivers while still on VMware (with the VirtIO devices added), so the guest already knows them before the move. Linux guests usually include VirtIO modules already, but if the VM can’t find its disk, rebuild the initramfs to include them:
update-initramfs -u -k all
Step 4 — First boot and network
Power on, then check: does it boot, is the disk fast (VirtIO, not emulated), and is the network up on the right VLAN/bridge? Add a VirtIO network device and confirm the IP configuration matches what the VM had on ESXi. If the guest comes up with a different network adapter, it may reset to DHCP — set the static address again if needed.
Step 5 — Verify, then retire the old VM
Run the application, confirm users can reach it, and check logs for errors. Only then power off (don’t delete yet) the VMware copy. Keeping the source around for a day or two is your instant rollback — if a problem surfaces, you can boot the original while you investigate.
Scaling this to a whole environment
One VM is straightforward. A whole environment — clusters, databases, tight downtime windows — needs a proper plan; for larger estates, a clear VMware ESXi to Proxmox VE path matters as much as the cutover tooling itself. Specialists such as Proxmox Migracje can run the whole project. The principles stay the same, but you add structure:
- Dependency mapping: know which VMs must move together.
- Batching: migrate in groups, not all at once.
- Rollback points: keep each source batch intact until validated.
- Bulk conversion: script
virt-v2vfor repeatable results across many VMs.
If that’s your situation, Proxmox migration services cover the same path at estate scale — bulk conversion with virt-v2v, near-zero-downtime cutovers, and post-migration backup hardening.
Troubleshooting the most common first-boot issues
If your first migrated VM doesn’t behave, don’t panic — nearly every issue falls into a short list of well-understood causes:
- Black screen or “no bootable device” on Windows: the VirtIO storage driver isn’t installed. Temporarily switch the disk to SATA, boot, install the driver from the VirtIO ISO, then switch back to VirtIO SCSI.
- Linux drops to an initramfs prompt: the VirtIO modules aren’t in the initramfs. Boot with an emulated controller, run
update-initramfs -u -k all, then switch back. - No network: the guest sees a new NIC and may have reset to DHCP. Re-apply the static IP and confirm the bridge/VLAN matches the old ESXi setup.
- Poor disk performance: the VM is likely running on an emulated controller. Confirm VirtIO SCSI is active and that the storage backend (ZFS/LVM-thin) is healthy.
Because you kept the source VM intact, none of these are emergencies — you can always boot the original while you sort out the new one.
Why this approach scales cleanly
The reason the “one VM” method extends to a whole fleet is that it’s fundamentally repeatable. Every workload follows the same four beats — convert, drivers, boot, verify — so once you’ve done it a couple of times, the process becomes muscle memory. The only thing that changes at scale is the coordination: batching related VMs, scheduling windows, and keeping rollback points. The technical act of moving a machine stays identical whether it’s your tenth VM or your hundredth.
Frequently asked questions
Will my Windows Server VMs work on Proxmox?
Yes. Windows Server runs well on KVM once the VirtIO storage and network drivers are installed.
How much downtime should I expect?
Per VM, usually just the time for a reboot — minutes, not hours — if drivers are prepared in advance.
Can I keep running VMware during the migration?
Absolutely. Most people run both side by side and move workloads in batches until VMware is empty.
Wrapping up
The core idea is simple and repeatable: convert the disk, fix the drivers, boot, verify. Do that once and the rest of the fleet follows the same rhythm. With mature tooling and a bit of planning, moving off VMware is far less intimidating than the renewal quote that prompted it — and the result is a platform you fully control, with no license meter running.