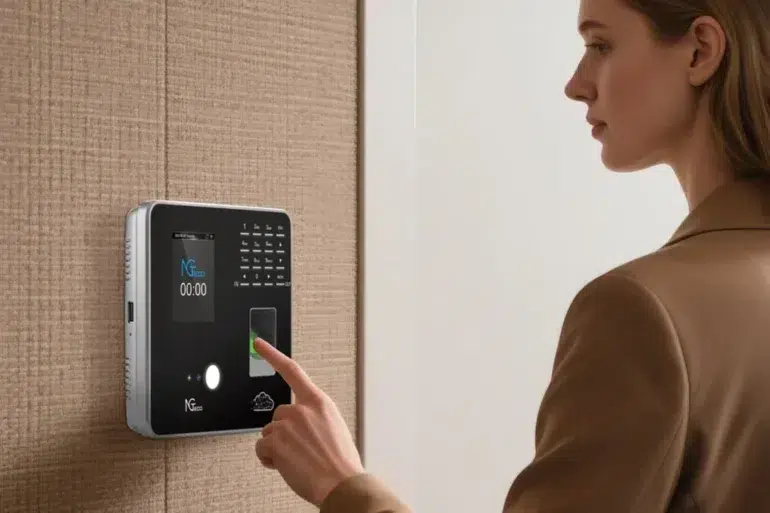
Accurate time tracking forms the backbone of efficient workforce management for small businesses. Every missed punch or recording error can ripple through payroll calculations, compliance records, and labor cost analyses. A clock in machine offers a reliable, automated solution that eliminates manual timekeeping headaches—but only when it’s properly connected to your network infrastructure. Many business owners and IT administrators encounter frustration during the initial setup phase, particularly when configuring connectivity features like Wi-Fi and Bluetooth. These wireless capabilities are essential for real-time data synchronization, remote management, and integration with existing business systems.
This article provides a clear, step-by-step guide designed for tech-savvy users who want to configure dual-band Wi-Fi and Bluetooth on their clock in machine quickly and correctly. By following these instructions, you’ll achieve seamless integration with your network environment, reduce data transmission errors, and unlock the full potential of your time tracking hardware. Whether you’re setting up a single device or deploying across multiple locations, proper connectivity configuration ensures your system works reliably from day one.
Understanding Your Clock In Machine’s Connectivity Options
Modern clock in machines for small businesses rely on wireless connectivity to deliver real-time attendance data, enable remote administration, and maintain synchronization across distributed teams. Understanding how Wi-Fi and Bluetooth serve different but complementary roles helps you make informed decisions during configuration.
Dual-band Wi-Fi provides the primary network connection your clock in machine uses to transmit punch data to cloud servers or local databases. The 2.4GHz band offers broader coverage and better wall penetration, making it suitable for devices positioned far from the router or in environments with physical obstacles. The 5GHz band delivers faster throughput with less interference from competing devices like microwaves and cordless phones, ideal for locations where multiple wireless devices operate simultaneously. Selecting the appropriate band—or configuring automatic band switching where supported—directly impacts data transmission reliability and speed.
Bluetooth serves a different purpose, enabling short-range connections with peripherals such as administrator smartphones, tablets, or external badge readers. Through Bluetooth, managers can perform on-site configuration changes, push firmware updates from a mobile app, or retrieve diagnostic logs without needing physical access to the device’s interface. Some systems also use Bluetooth Low Energy for proximity-based employee identification. Without proper setup of both connectivity protocols, your clock in machine operates in isolation, unable to deliver the automated, integrated experience that justifies the investment in modern time tracking hardware.
Step-by-Step Guide to Configuring Dual-Band Wi-Fi
Preparing for Wi-Fi Setup: Prerequisites and Tools
Before touching the device menu, gather everything you’ll need for a smooth configuration session. Have your network SSID and password ready—check your router’s admin panel if you’re unsure which credentials correspond to each band. Confirm that your router broadcasts on both 2.4GHz and 5GHz frequencies, and note whether it uses separate SSIDs for each band or a unified network name. Keep the clock in machine’s manual accessible for model-specific navigation references. Ensure the device is connected to a stable power source, as losing power mid-configuration can corrupt network settings. Finally, position yourself within reasonable range of your wireless access point during initial setup, even if the device will eventually be mounted elsewhere. Power on the clock in machine and enter setup mode—typically accessed by holding a designated button during boot or navigating through the administrator menu using default credentials provided in your documentation.
Accessing Network Settings and Selecting Dual-Band Wi-Fi
Navigate to the device’s settings panel, usually found under a “Network,” “Communication,” or “Connectivity” menu heading. Within this section, locate the Wi-Fi configuration option and initiate a network scan. The device will display available networks, often indicating signal strength alongside each SSID. If your router uses separate network names for each frequency, you’ll see both listed independently. Choose the 5GHz network when your clock in machine sits within 30 feet of the router with minimal obstructions—this band provides faster data transfers and reduced congestion. Select the 2.4GHz option when the device is mounted in a distant hallway, through multiple walls, or in an area where 5GHz coverage proves inconsistent. Dual-band Wi-Fi support means you aren’t locked into one choice permanently; you can reconfigure as your environment changes or if you relocate the device.
Entering Credentials and Testing the Connection
After selecting your preferred network, the device prompts you for authentication. Input the SSID exactly as broadcast—Wi-Fi credentials are case-sensitive, so double-check capitalization and special characters. Use the device’s on-screen keyboard or physical keypad to enter the password carefully. Once submitted, the clock in machine attempts to authenticate and obtain an IP address via DHCP. A successful connection typically displays a Wi-Fi icon, signal strength indicator, or confirmation message on the device screen. If connection fails, verify you haven’t exceeded your router’s maximum client limit, confirm the password is correct, and ensure MAC address filtering isn’t blocking the new device. Try switching bands if one consistently fails. Once connected, test data transmission by performing a sample punch or triggering a manual sync from the administration menu to confirm that attendance data reaches your server or cloud platform without errors.
Setting Up Bluetooth Connection for Enhanced Functionality
Enabling Bluetooth and Entering Pairing Mode
Bluetooth configuration on your clock in machine begins within the same connectivity or communication menu where you configured Wi-Fi. Locate the Bluetooth settings option and toggle it to “Enabled” or “On.” Once activated, the device typically needs to be placed into discoverable mode—a state where it actively broadcasts its presence to nearby devices for a limited window, usually 60 to 120 seconds. Some models enter pairing mode automatically upon first Bluetooth activation, while others require you to select “Make Discoverable” or “Pair New Device” from a submenu. During this window, the clock in machine broadcasts a device name, often its model number or a customizable identifier you can rename for easier recognition in multi-device environments. Keep the device you intend to pair—whether a smartphone, tablet, or external reader—within three feet during initial pairing to ensure a strong, uninterrupted handshake.
Pairing with Compatible Devices and Verifying Connection
On your smartphone or tablet, open Bluetooth settings and scan for available devices. The clock in machine should appear in the discovered devices list under its broadcast name. Tap to initiate pairing, and confirm any PIN or passkey prompt that appears on either device—many systems use a standard code like “0000” or “1234,” though some generate a unique key displayed on the clock in machine’s screen. Once paired, the connection status should update on both devices. Verify functionality by opening the manufacturer’s companion app on your mobile device and attempting a basic action such as retrieving device status, pulling recent punch logs, or pushing a configuration change. Successful data exchange confirms that the Bluetooth link is operational and ready for administrative use.
Troubleshooting Common Bluetooth Issues
If the clock in machine doesn’t appear in your device’s scan results, confirm that discoverable mode hasn’t timed out and restart the pairing window. Interference from other Bluetooth devices, USB 3.0 peripherals, or crowded 2.4GHz environments can disrupt discovery—move competing devices away temporarily. When pairing fails repeatedly, clear any previous pairing records on both the clock in machine and your mobile device, then attempt a fresh connection. Ensure your phone’s operating system and the companion app are updated to versions compatible with the device’s Bluetooth protocol. If issues persist after these steps, consult your manufacturer’s technical support team with details about your device model, firmware version, and the specific error behavior you’re experiencing.
Integrating Connectivity into Time Clock Setup
With Wi-Fi and Bluetooth properly configured, the next critical phase involves connecting your clock in machine to the broader ecosystem that drives your workforce management. Time clock setup for small businesses extends well beyond physical installation and network connectivity—it encompasses the data pipeline that moves attendance records from the device into actionable business intelligence.
Once your clock in machine maintains a stable Wi-Fi connection, configure the synchronization schedule with your payroll system. Most devices allow you to set automatic upload intervals, pushing punch data every few minutes to your cloud platform or on-premise server. This real-time sync eliminates end-of-week data dumps that delay payroll processing and create bottlenecks. Within your device’s administration panel, map employee profiles to their identification methods—whether fingerprint, PIN, badge, or facial recognition—so each punch associates correctly with the right individual in your payroll database. Verify that time zone settings, daylight saving rules, and overtime thresholds align between the clock in machine and your payroll software to prevent calculation discrepancies. Bluetooth connectivity complements this workflow by allowing managers to make on-the-fly adjustments, approve missed punches, or add new employees directly from a mobile device without interrupting the clock’s primary data stream. When both wireless protocols work in harmony with your business systems, the result is an attendance infrastructure that operates autonomously, reduces administrative overhead, and delivers accurate labor data that keeps your small business compliant and financially precise.
Accessing and Utilizing Technical Support
How to Contact Support for Device Issues
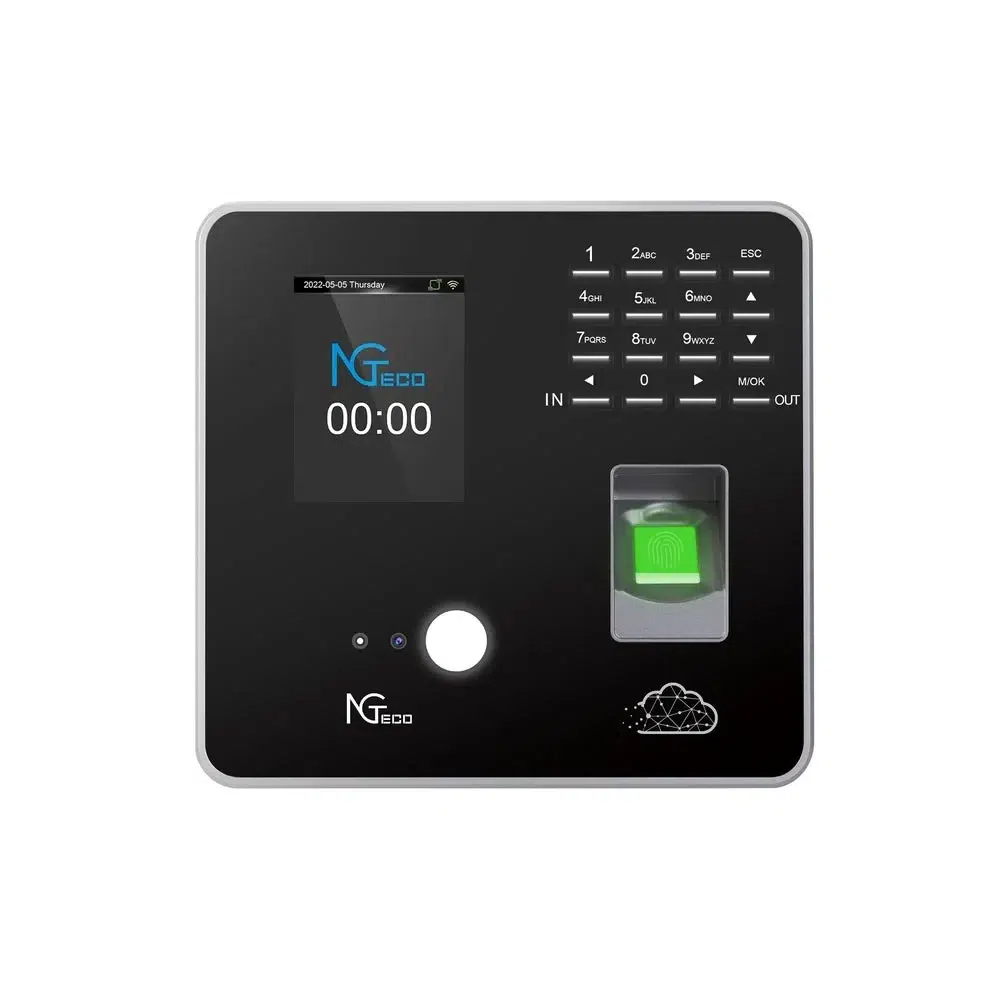
Even with careful configuration, situations arise that require professional assistance. Most clock in machine manufacturers, including hardware providers like NGteco, offer multiple technical support channels including phone hotlines, email ticketing systems, and live chat through their websites or companion apps. Before reaching out, gather essential details that accelerate resolution: your device model and serial number, current firmware version, a description of the specific behavior or error message, the steps you’ve already attempted, and your network environment details such as router model and security protocol. Having this information ready transforms a potentially lengthy support interaction into a focused troubleshooting session. Many manufacturers also maintain online knowledge bases and community forums where common issues are documented with verified solutions.
Common Advanced Problems and Solutions
Beyond basic connectivity hiccups, you may encounter network conflicts where your clock in machine receives a duplicate IP address—resolve this by assigning a static IP through your router’s DHCP reservation settings. Firmware incompatibilities sometimes emerge after router updates change security protocols; check the manufacturer’s download portal for firmware patches that restore compatibility. If your device intermittently drops its Wi-Fi connection, investigate whether power-saving features on the clock in machine are aggressively disconnecting the radio during idle periods, and disable sleep mode for the network adapter if available. Persistent synchronization failures despite a stable connection often point to firewall rules or port restrictions blocking outbound traffic to cloud servers—consult your manufacturer’s documentation for required ports and whitelist them accordingly.
Best Practices for Maintenance and Updates
Proactive maintenance prevents most connectivity failures before they disrupt operations. Schedule monthly checks to verify your clock in machine’s firmware is current, as updates frequently address security vulnerabilities and improve wireless stability. Periodically review your Wi-Fi connection quality through the device’s diagnostic menu, watching for degraded signal strength that might indicate new physical obstructions or competing devices. Restart the clock in machine weekly during off-hours to clear memory caches and refresh network connections. Document your configuration settings—network credentials, IP assignments, Bluetooth pairings—in a secure location so that recovery after a factory reset or device replacement takes minutes rather than hours. These habits ensure your technical support needs remain minimal and your time tracking infrastructure stays dependable.
Achieving Reliable Connected Time Tracking for Your Business
Configuring Wi-Fi and Bluetooth on your clock in machine transforms it from a standalone device into a fully integrated component of your workforce management system. The process follows a logical progression: select the appropriate dual-band Wi-Fi frequency based on your physical environment, enter credentials carefully, verify the connection through a test sync, then establish Bluetooth pairing for mobile administration capabilities. Each step builds on the previous one, culminating in a device that automatically transmits attendance data to your payroll platform while remaining accessible for on-site management through your smartphone or tablet.
For small businesses, this proper configuration translates directly into operational efficiency—accurate punch data flows without manual intervention, payroll processing accelerates, and compliance documentation stays current. The time invested in correct setup eliminates hours of troubleshooting and data reconciliation down the road. Apply this guide during your next installation, document your settings for future reference, and don’t hesitate to leverage manufacturer technical support when advanced issues arise. Start your configuration today and establish the reliable, connected time tracking infrastructure your business needs to operate with precision.