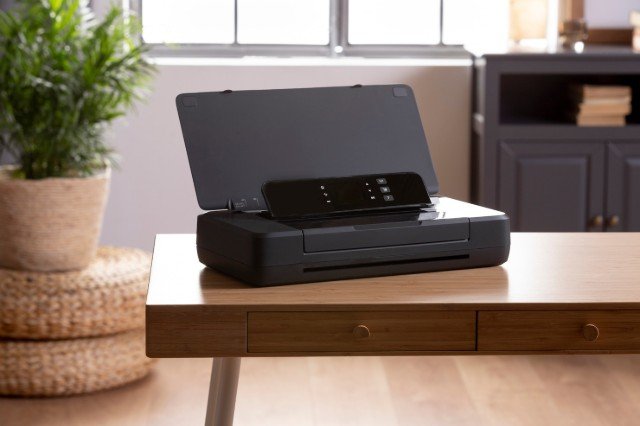
Connecting your Canon printer to a Wi-Fi network enables convenient wireless printing from various devices, eliminating the need for physical connections. This guide provides a comprehensive, step-by-step approach to help you seamlessly connect your Canon printer to Wi-Fi.
Preparation Steps
Before initiating the connection process, ensure the following:
- Network Availability: Confirm that you have an active Wi-Fi network and know the network name (SSID) and password.
- Printer Readiness: Ensure your Canon printer is powered on and in close proximity to your Wi-Fi router to maintain a strong signal during setup.
Connecting Your Canon Printer to Wi-Fi
Canon offers multiple methods to connect your printer to a Wi-Fi network. Below are the most common approaches:
1. Using WPS (Wi-Fi Protected Setup)
This method is ideal if your router supports WPS.
Steps:
- Initiate WPS on Printer:
- Press the [Home] button on the printer’s control panel.
- Navigate to ‘LAN settings’ and press [OK].
- Select ‘Wi-Fi’ > ‘Wi-Fi setup’ > ‘WPS (Push button method)’ and press [OK].
- Activate WPS on Router:
- Within two minutes, press the WPS button on your router.
- Finalize Connection:
- The printer will display a confirmation message once connected successfully.
Note: If the WPS option isn’t available, proceed with the Standard Connection method.
2. Standard Connection Method
This method involves manually selecting your Wi-Fi network and entering the password.
Steps:
- Access Wi-Fi Setup:
- Press the [Home] button on the printer.
- Navigate to ‘LAN settings’ and press [OK].
- Select ‘Wi-Fi’ > ‘Wi-Fi setup’ > ‘Manual connect’ and press [OK].
- Select Your Network:
- A list of available networks (SSIDs) will appear.
- Use the arrow keys to select your network and press [OK].
- Enter Password:
- Input your Wi-Fi password using the printer’s keypad.
- Confirm the entry and press [OK].
- Connection Confirmation:
- The printer will notify you upon a successful connection.
Reference: Detailed instructions are available on Canon’s official support page.
3. Using the Canon PRINT Inkjet/SELPHY App
For users preferring a mobile setup, the Canon PRINT app facilitates easy configuration.
Steps:
- Download the App:
- Install the ‘Canon PRINT Inkjet/SELPHY’ app from the App Store or Google Play Store on your smartphone or tablet.
- Prepare Printer for Connection:
- Ensure the printer is powered on.
- Press and hold the [Wi-Fi] button until the Wi-Fi lamp flashes.
- Configure via App:
- Open the app and tap ‘Add Printer’.
- Follow the on-screen instructions to select your printer model and connect it to your Wi-Fi network.
Reference: For a visual walkthrough, refer to Canon’s setup guide.
Troubleshooting Tips
If you encounter issues during the setup:
- Verify Network Credentials: Ensure the Wi-Fi password entered is correct.
- Check Signal Strength: Position the printer closer to the router to avoid connectivity problems.
- Restart Devices: Power cycle both the printer and router to refresh the connection.
- Consult Canon Support: For persistent issues, visit Canon’s support page or refer to the user manual specific to your printer model.
By following these steps, you can successfully connect your Canon printer to Wi-Fi, enabling seamless wireless printing across your devices.
For a visual demonstration, consider watching the following tutorial:


